We have learned how to make a simple android plugin for unity3d, now let’ s make something useful rather than logging or making toasts. I ‘ll try to explain how to implement Google play game services for your unity android project.
Before getting started I uploaded example projects to git, go ahead and download it from here . (I added new branch “GPGS” for this tutorial, because we are going to export our Unity project as google android project and build .apk from eclipse. Master branch has previous tutorials codes. You can build it from Unity still. )
In this tutorial I will just explain how to run the project and what to do before setting up a project for gpgs in order.
Eclipse part:
- First open eclipse and android sdk manager ,from manager install google play services plugin, simply follow these steps . Once you installed the plugin go to your android sdk directory and import the library into eclipse(right click to package explorer select import and browse
<android-sdk>/extras/google/google_play_services/ path).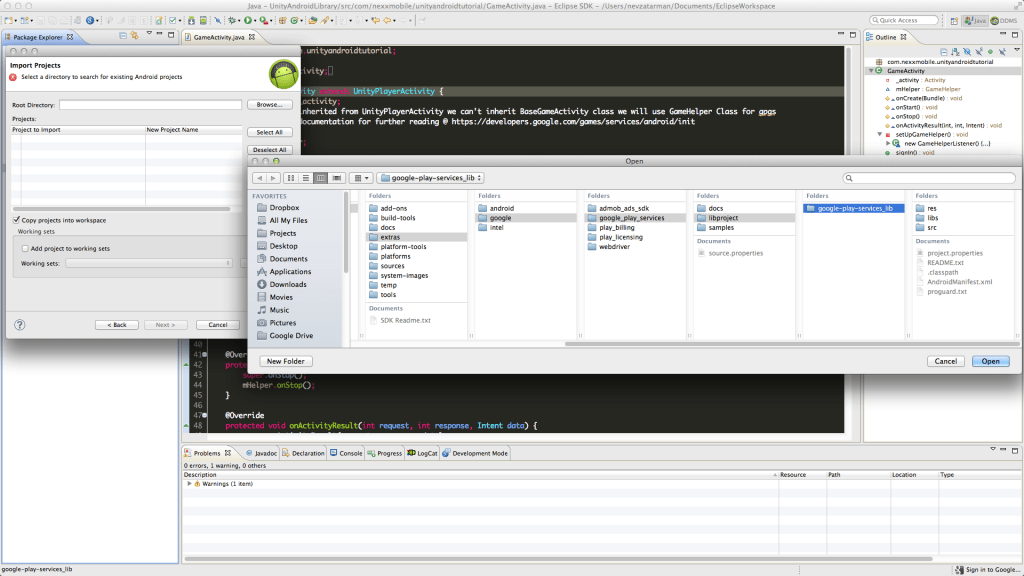
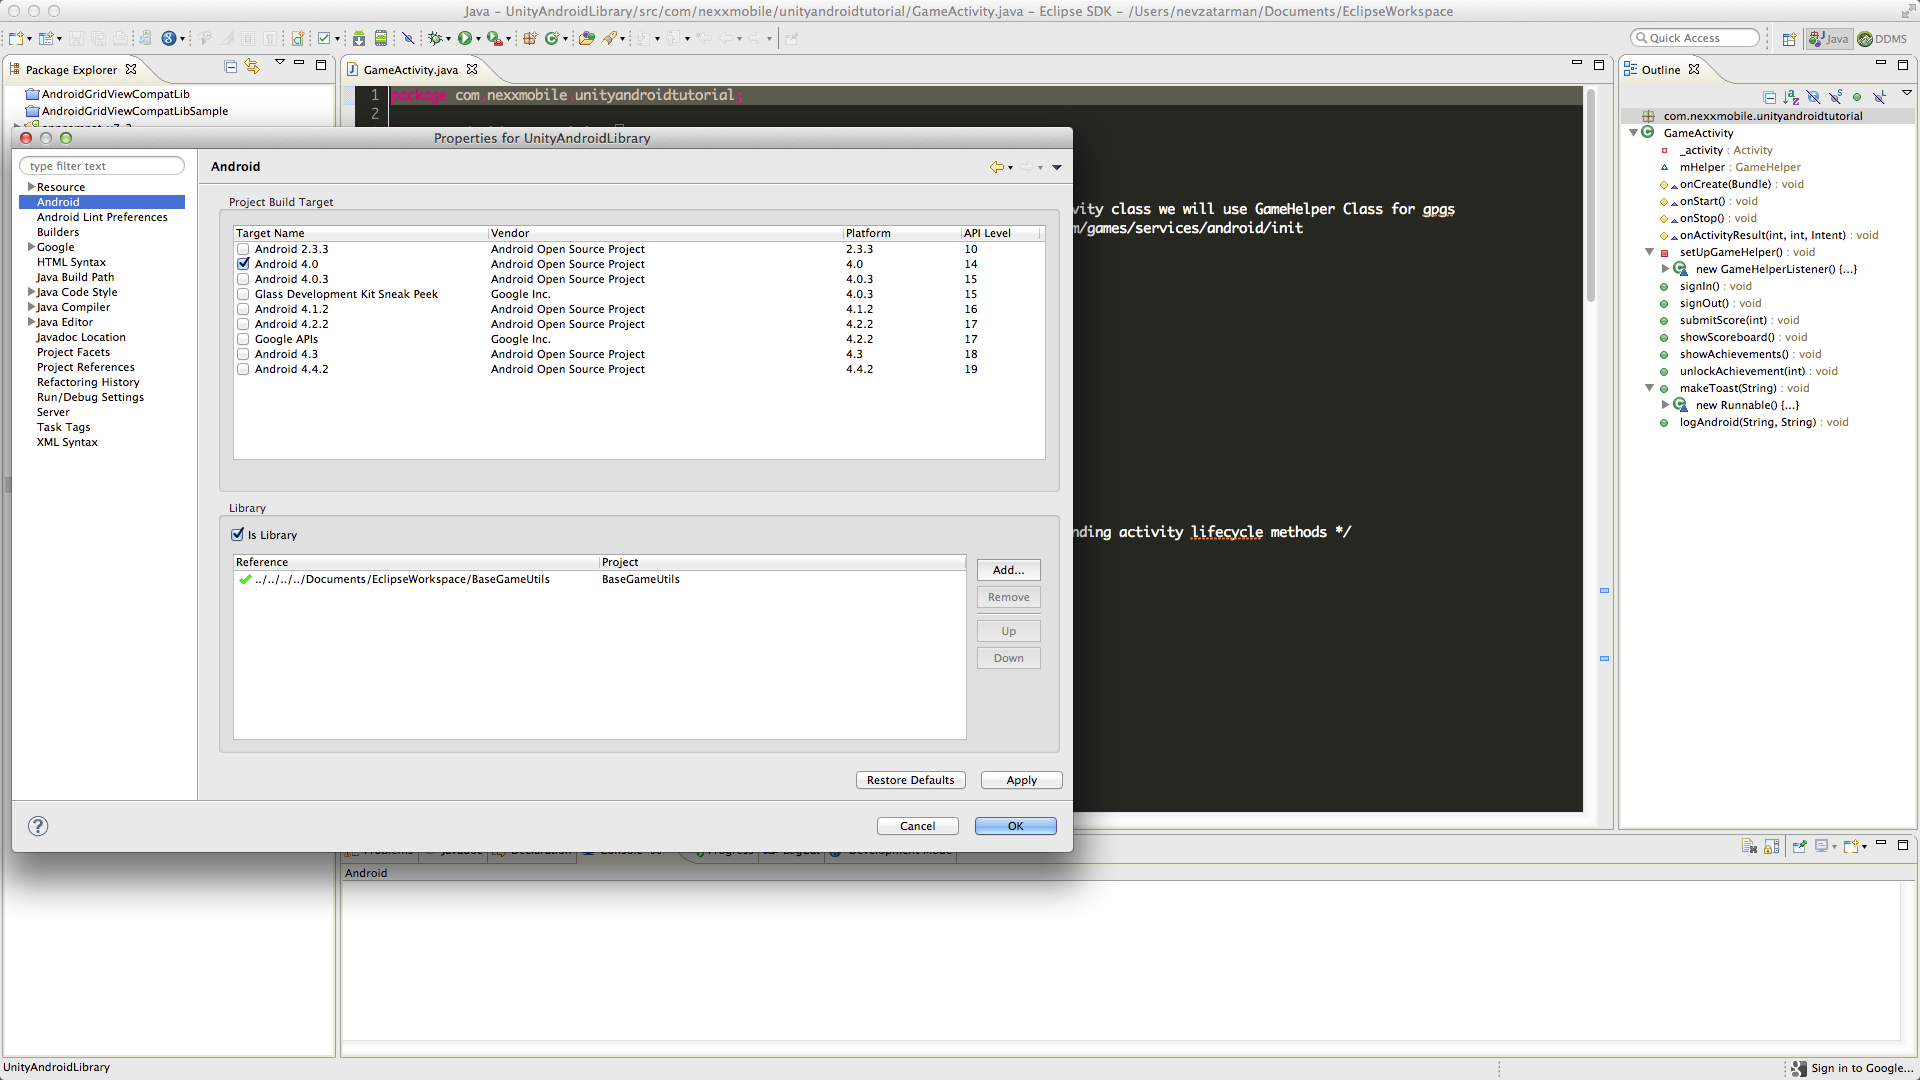
- Next we need BaseGameUtils library to handle activity lifecycle for us. Go to playgameservices page at github and clone repository to your computer. After that open Eclipse and import BaseGameUtils under library folder as it’s described in google documentation here . (after importing if you come up with any errors right click to project and properties, under Android tab check libraries section, google-play-services_lib project should be there, if not just click to add)
- Now it’ s time import example android library project into Eclipse. Import it as an android application and right click to properties. Like I described before go to Android tab, under libraries section click to add and select BaseGameUtils that we imported before. After that also mark this project as a library.

- I’m not going to explain the code here, I tried to comment lines as much as possible so you can check GameActivity.java class. What I did is explained well at google’ s document here .
- We are not yet done with eclipse part but we will come back to it after we set up our game service at play developer console.
Google play developer console part
- Now go to google play dev console and open game services from left toolbar. Click to add a new game and select “I don’t use any Google APIs in my game yet.” and fill in the fields.
- After that there comes game details page, for testing you don’t need to fill in those fields. To test our service go to linked apps tab and select “android” from there. After that there is just one field to be filled and that is package name, if you already uploaded your Apk it will be on the list when you click there. If not don’t worry you don’t need to upload an apk for testing just type your package name in there (mine is “com.nexxmobile.unityandroidtutorial”) and hit save button.
- Now you will come up to auto authorize your app page. You may hit continue if you don’ want to upload logo now and you should see certificate fingerprint (SHA1) field now. This is your certificates fingerprint and it must be filled correctly otherwise your service won’t work(be careful with debug keystore, I usually create a new keystore before I start testing ). To obtain that refer this page . After pasting it there click create client button and you are done.
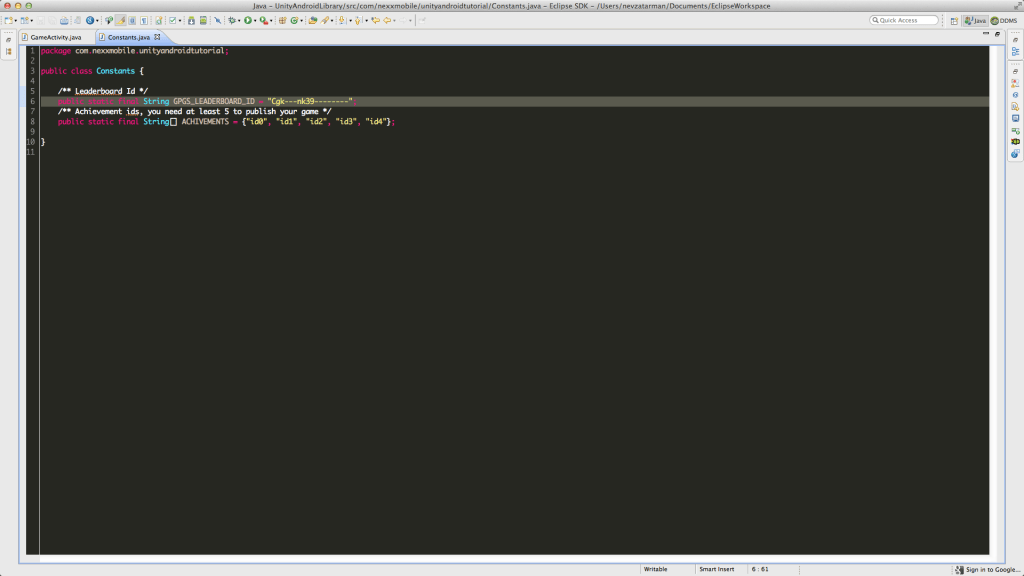
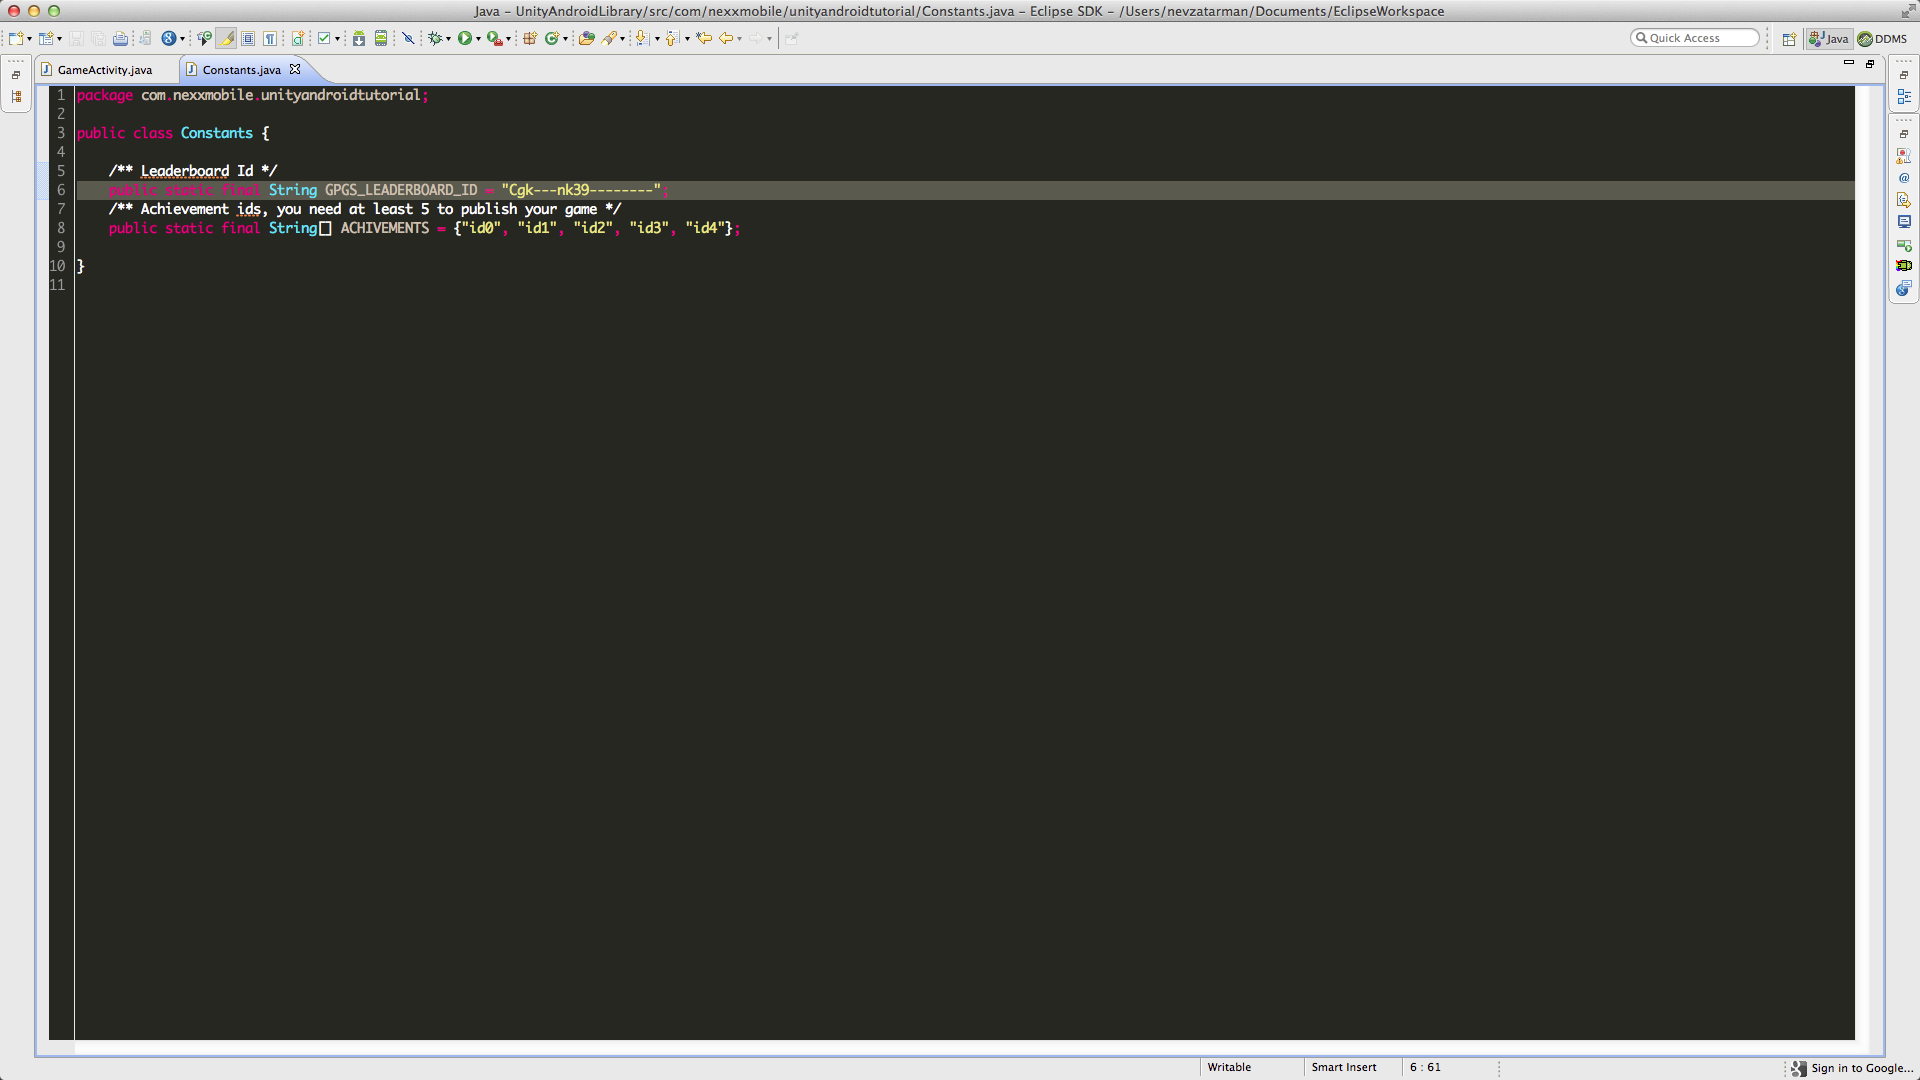
- For testing add achievements(at least 5) and a leaderboard from left toolbar. After adding them copy their “id” ‘s into “Constants.java” file inside our eclipse project.
Unity3D part
- We come to unity part. Open unity project that you have downloaded. It includes just a test script and a androidhelperclass inside plugins folder. Now go to google developer console again and open game services tab and than when you open your game right next to your game’s name you will see a 12 digit number thats your games id. Copy that and paste it into /Plugins/Android/res/values/ids.xml.
- Next add test scene to your build settings, check your package name(also check package name and activity name at androidmanifest.xml inside plugins folder) and select google android project there and hit export button.
Final Eclipse part
- Now open eclipse again and import the unity3d generated android project. Like we did before right click and select properties. Under Android tab add the “UnityAndroidLibrary” as a library.
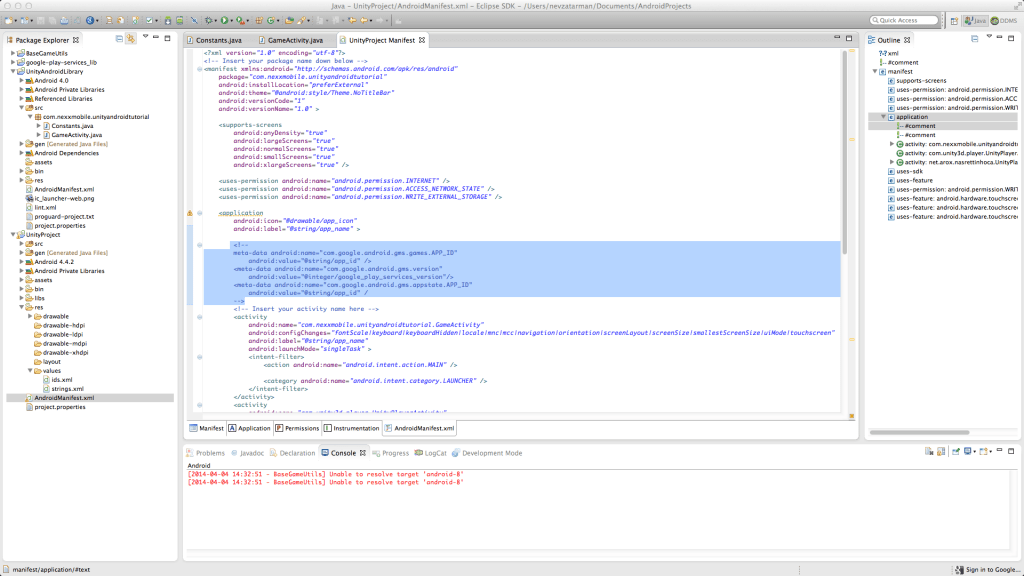
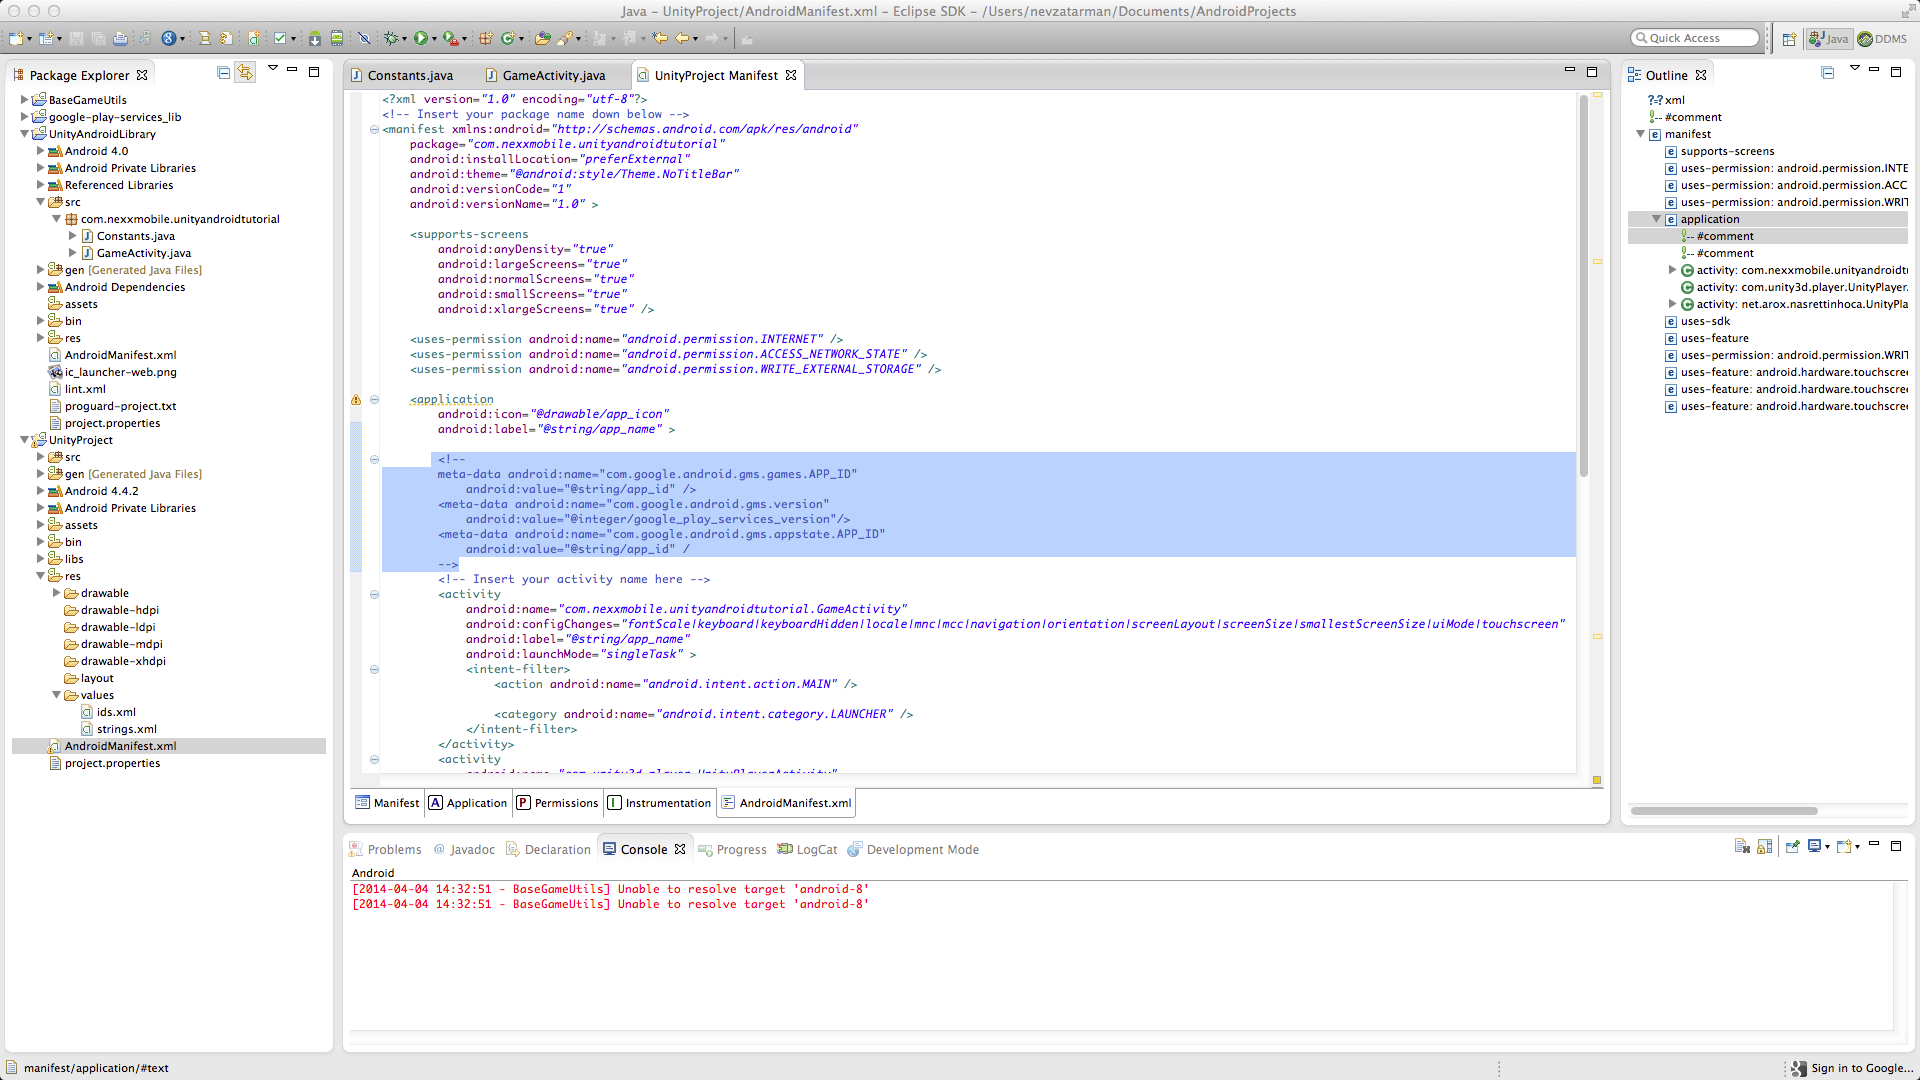
- After that open AndroidManifest.xml file inside UnityProject, you will see under application I have commented out some meta tags for unity build. Comment out them and you’ re ready to build your Apk.
- Inside manifest tab, use export wizard to build your apk. Just remember, if you authorized your app at developer console with debug key sign it with debug key or sign it with your producion key and that’s it basically. Try test scene if it works.Since we are using google play services maybe I will share google analytics next time. I hope this tutorial was helpful.

Leave a comment